
Wish you could bring your ideas to life instantly? Now you can. An AI photo generator lets you turn simple text descriptions into stunning images in seconds. No special skills or expensive equipment needed, just your imagination and a few words. It's a fun way to experiment with new styles and compositions, and it’s a powerful tool for those who want to create images with AI for real projects.
An AI photo generator uses a trained model to translate your text prompts into brand-new images. You describe the scene, and the software predicts how it should look, giving you a powerful and playful way to create. To find the best tool to get started with, check out our guide, What Is the Best AI Image Generator App for Beginners?
In this article, you will learn how to create images with AI, how to structure prompts that work, and the small tweaks that lead to big improvements.
AI Image Generation, Explained Simply
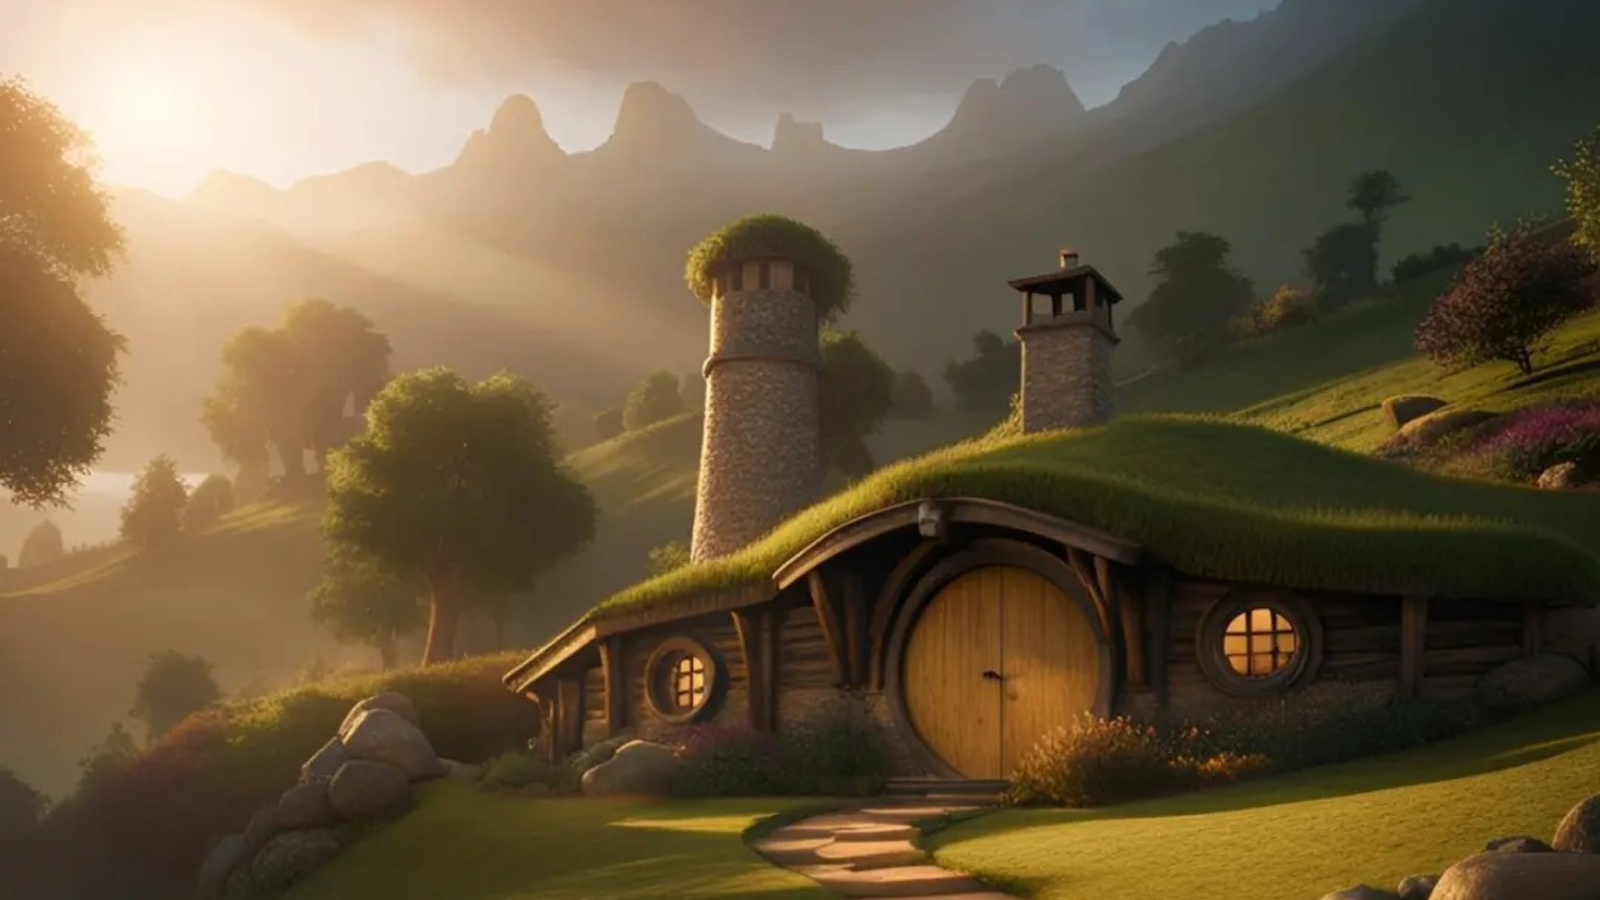
Under the hood, these apps rely on models trained on vast collections of images and captions. During training, the model learns to map text concepts like “hobbit house,” “soft sunlight,” or “cinematic view” to visual patterns. When you ask for “a cozy hobbit home on a green hill,” the model assembles these learned patterns into a new picture that fits your description.
You do not need to know the math. You only need to know how to give the model useful guidance. That is the heart of how to use AI to create images. Your words are the brush. The parameters in the app, such as aspect ratio or style strength, are your palette and canvas.
Picking The Right AI Photo Generator App
Different apps focus on different strengths. Some excel at photorealism, some are better for illustration or anime, and others make it simple to edit existing photos. When choosing, look for:
1. Beginner-friendly workflow
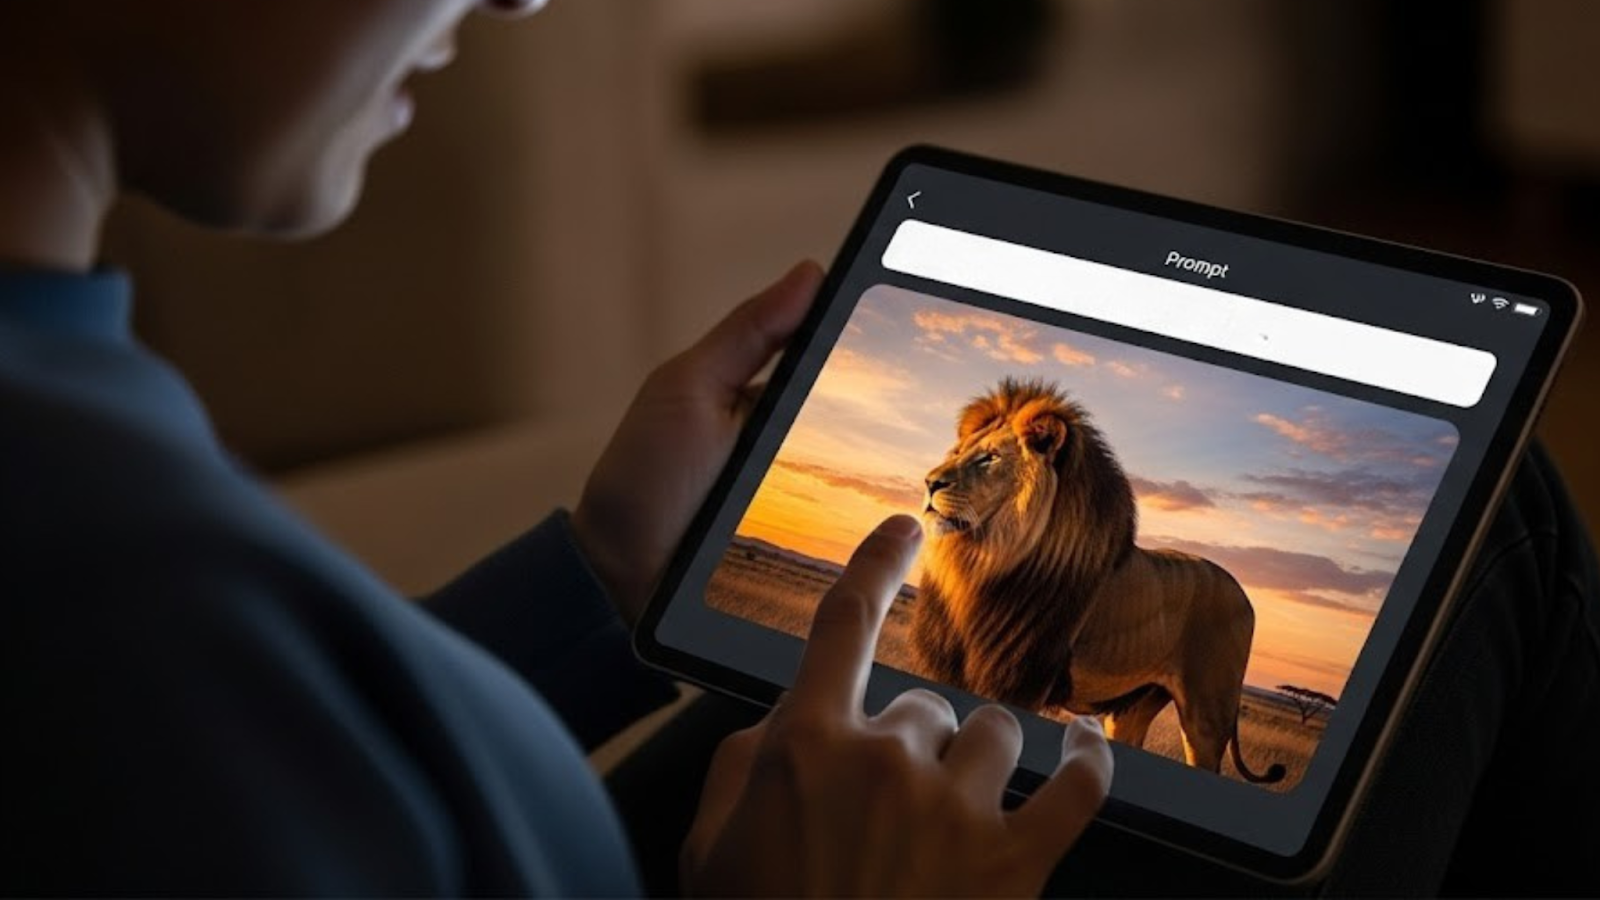
A seamless user experience is key. Look for tools that have an intuitive interface with a clear prompt box and easy-to-use controls. Fast previews are a major plus, allowing you to quickly see the results and make adjustments without waiting.
2. Style Range
The best text-to-image AI generator app offers a diverse palette of artistic styles. Whether you need photorealistic images, digital paintings, 3D renders, flat vector graphics, or comic-book-style visuals, the right tool should be able to deliver the aesthetic you're looking for. Some apps are specialists, excelling at one or two styles, while others are great generalists.
3. Editing Tools
The generated image is often just the beginning. Advanced tools can help you refine your creation. Look for features like:
- Background removal: Easily isolate your subject.
- Inpainting and outpainting: Add or remove elements from an image, or expand the canvas to create a larger scene.
- Upscaling: Increase the resolution of your image for high-quality prints or displays.
- Color correction: Fine-tune the colors and lighting to achieve the perfect mood.
4. Aspect ratio presets
Getting the right dimensions from the start saves time and effort. Many generators offer presets for common uses, such as square for social media, 16:9 for presentations, or 9:16 for stories and vertical video.
If you are brand new, start simple. Pick a tool with good defaults, then practice with a few prompts before diving into advanced settings. That is the fastest path for how to create AI images with confidence.
The Beginner’s Workflow: How To Create Images With AI
- Start with a clear idea
Decide what you want the image to do. Is it a product mockup, a blog illustration, or a concept for a character? A focused goal makes better prompts.
- Write the first prompt
You will see the phrase how to write AI image prompts everywhere for a reason. Prompt writing is a skill, and small changes can transform the result.
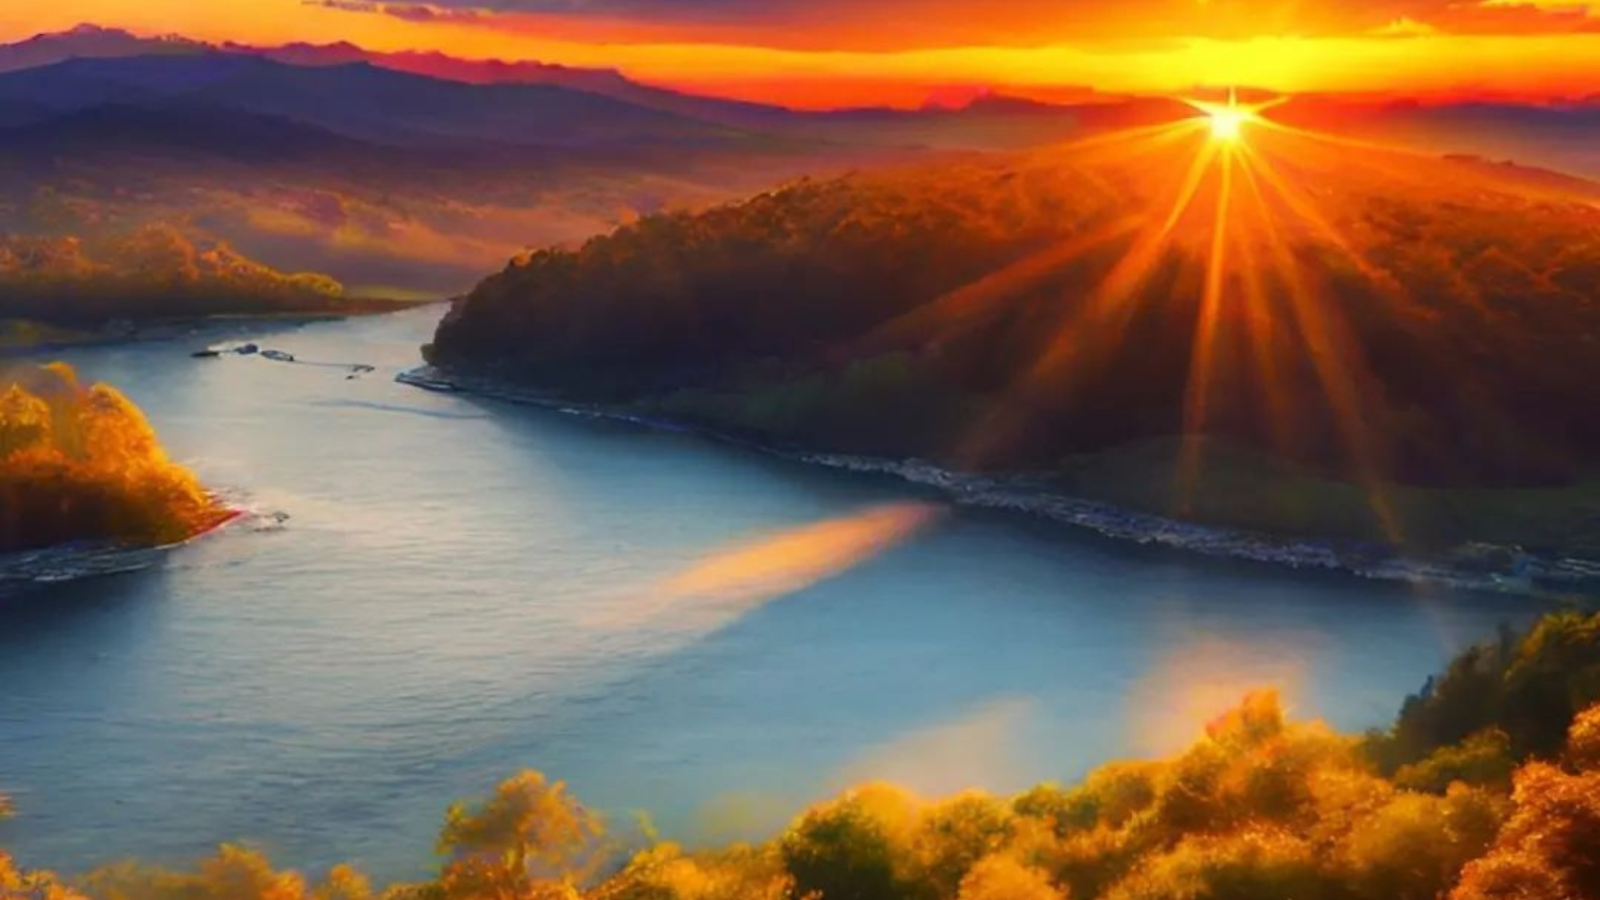
Use a simple structure: Subject + Context + Style + Details.
Example: “A breathtaking landscape of mountains and a river during a beautiful golden hour, hyperrealistic fantasy art, the water reflects the brilliant light of the sun, which is surrounded by a fiery sky and warm, luminous clouds.”
- Pick the right aspect ratio
Square for posts, 16:9 for banners, 3:2 for prints, 9:16 for stories. Choosing the frame first reduces weird crops later.
- Generate and review
Look for composition, lighting, and details. If it is close, keep refining. If it is far off, rewrite the prompt with stronger nouns and fewer adjectives.
- Iterate with small changes
Change one or two elements at a time. Swap “morning light” for “studio softbox.” Add “camera angle: eye level.” Keep what works.
- Upscale and export
Once you like the result, use the app’s upscaler for higher resolution. Export in PNG for transparent backgrounds or JPG for general use.
This is how to create images with AI without getting overwhelmed. Think in loops. Prompt, generate, adjust, repeat.
What Is Important To Do When Trying To
Create An Image With A Generative AI Tool
Creating stunning images with a generative AI tool is a skill that blends creativity with technical instruction. For beginners, the process can be demystified by following a straightforward checklist of best practices. By focusing on these key elements, you can transform a vague idea into a precise visual masterpiece.
Be a Director, Not Just a Describer
The AI needs a director's eye, not just a list of objects.
- Specify Your Subject: Don't just type "a dog." Instead, direct the scene: "a fluffy golden retriever puppy sitting in a sunlit field, looking at a butterfly." The more specific you are about the subject, its actions, and its environment, the more control you have over the outcome.
- Set the Frame and Composition: Imagine you're framing a shot for a movie. Do you want a close-up, a wide shot, or a profile? Use terms like "macro shot," "full-body portrait," "cinematic wide shot," or "aerial view" to control the composition.
- Choose the Right Aspect Ratio: The shape of your image is critical. A 1:1 (square) ratio is great for social media posts. A 16:9 (wide) is perfect for desktop wallpapers or presentations. A 9:16 (vertical) is ideal for phone screens and social stories. Picking the wrong ratio can crop your subject or ruin the overall composition.
Master the Details
Small details can have a huge impact on the final image.
- Intentionally Control the Style: The aesthetic of your image is determined by the style you choose. Instead of a vague prompt, use specific styles to guide the AI. Try "photorealistic," "in the style of an oil painting," "digital art," or "3D render." Combining too many styles at once can lead to a messy result.
- Guide the Lighting: Lighting is the single most powerful tool for setting a mood. A simple phrase can transform your scene. For example, use "soft natural light" for a calm, gentle feel or "dramatic chiaroscuro lighting" for a high-contrast, moody scene. Other effective terms include "golden hour," "neon glow," and "studio lighting."
- Use Negative Prompts: This tells the AI what to exclude. If your image keeps generating with blurry backgrounds or unwanted text, use negative prompts like "blurry, watermark, ugly, text, extra limbs." This is a powerful way to refine your image and avoid common errors.
The Final Steps
- Iterate Patiently: The first image you generate may not be perfect. The key is to be patient and iterate. Change one variable at a time and generate new images. This process of trial and error is how you learn to become an expert prompter.
- Document Your Successes: When you get a result you love, save the prompt. Create a personal "prompt library" to reuse and adapt your best combinations of style, lighting, and subject matter for future projects.
- Upscale Last: Don't waste time and credits upscaling an image until you are completely happy with the composition and details. Upscaling increases the resolution for a finished look, but you should only do it on your final, chosen image.
AI image generation turns ideas into visuals at the speed of thought. With a clear prompt, a sensible aspect ratio, and a couple of small adjustments, anyone can move from zero to a share-worthy image in minutes. You have learned how to create images with AI, how to steer style and lighting, how to write AI image prompts, and how to get better results from AI image generator tools through careful iteration. The creative potential is immense, from quick blog illustrations to full campaign concepts.
The future of AI in art looks collaborative. These tools will not replace your taste, they will amplify it. If you are curious about how to create images with AI for your brand or your next project, give an AI photo generator app a try or contact our team at Text2Pixel today.


